

I am a member of the Crocus Quilters Guild here in Dauphin and this is a picture of the guild banner. Every member has the opportunity to add their own mini quilt of a crocus. I decided to try my hand at Thread Painting to complete my contribution to the banner.

I didn't really know if what I was doing was going to work or not as this was quite experimental for me, but since I am quite pleased with the end result I thought that I would share the process I used. I am certainly not an expert by any means, but here is Thread Painting my way.
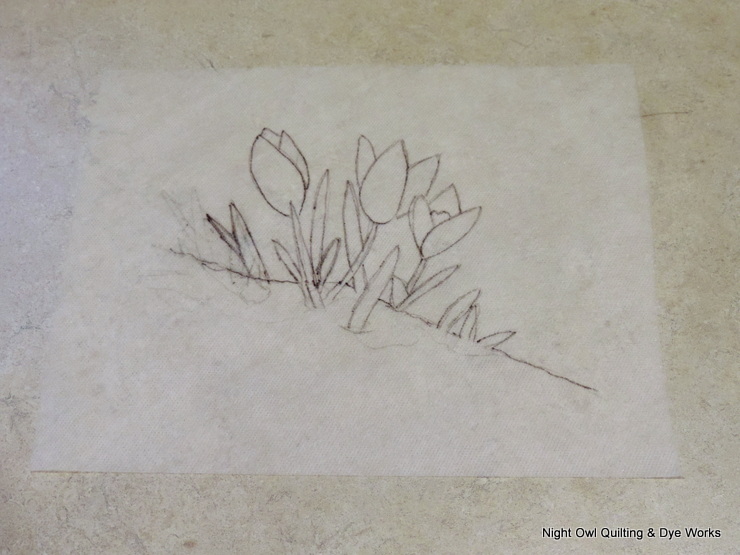
I started out by tracing an outline of my sketch onto water soluble stabilizer. The product I had at home was Fabri-Solvy made by Sulky. The lines will either be covered with thread or washed away after the stitching is complete.

I debated whether to do this project on my longarm or on my regular sewing machine. My longarm was empty while waiting on a thread order, and my sewing was set up for another task, so the longarm won. I layered a piece of batting and my top fabric on the frame. (I would have basted these together or put them in a hoop if I was using my sewing machine.)

I then layered my pattern on top, and added a few pins to keep it in place.

Here is the color palette I chose to work with. I only had So Fine! thread in appropriate colors, but I can now see how this would be a great time to use all those fun threads that exist in the marketplace.

Now comes the fun part. You kind of have to pretend that you are back in elementary school and coloring in a coloring book. The difference being that instead of a crayon you are using a needle and thread. I started with the lightest shade of each color and shaded in the background of that area. I was careful to stitch in the same direction to make it look like nice coloring/shading, not scribbling.

Now for some green.

And the lightest of the purples. I was careful to pay attention to what portion of the design was in the foreground and in the background.

After I had covered all the area with one shade of thread is was time to go back in with a darker shade to add depth to the piece. Here I have added a dark green thread.
.JPG)
I added a darker shade of purple, the pop of yellow and a lighter shade of green.

Last but not least I went in with a slightly darker shade of blue.

When I removed the piece it was pretty bumpy. Time to trim away the excess stabilizer and give it a bath to remove the remaining stabilizer.

After it was washed and dried and pressed it was much flatter. (If the piece was larger, I may have blocked it to square and flatten it.)
Here I have marked the area I was going to quilt.

I added a second layer of batting and a backing fabric and popped it back on the longarm to add a few quilting details. I stitched around the flowers and leaves and added a little detail in the background. Trimmed and bound it is ready for the banner. If your have ever thought about thread painting I highly recommend you give it a try. It was really quite relaxing, and because my piece was so small, I wasn't worried about wasting a lot of materials if it didn't work out.
.JPG)
I'm looking forward to seeing this! Very nice!
ReplyDelete